Materials
Labyrint Maxi sharp (350 x 210 x 140 mm) x 4
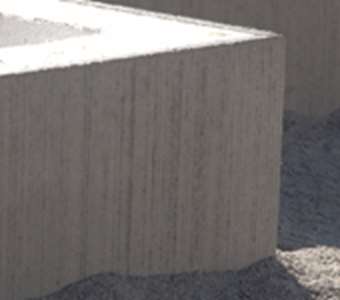
Block (1,050 x 350 x 150 mm) x 1
Concrete adhesive PL800 x 1
15 kg sack of joint filler x 4
Tools
Spirit level
Spade
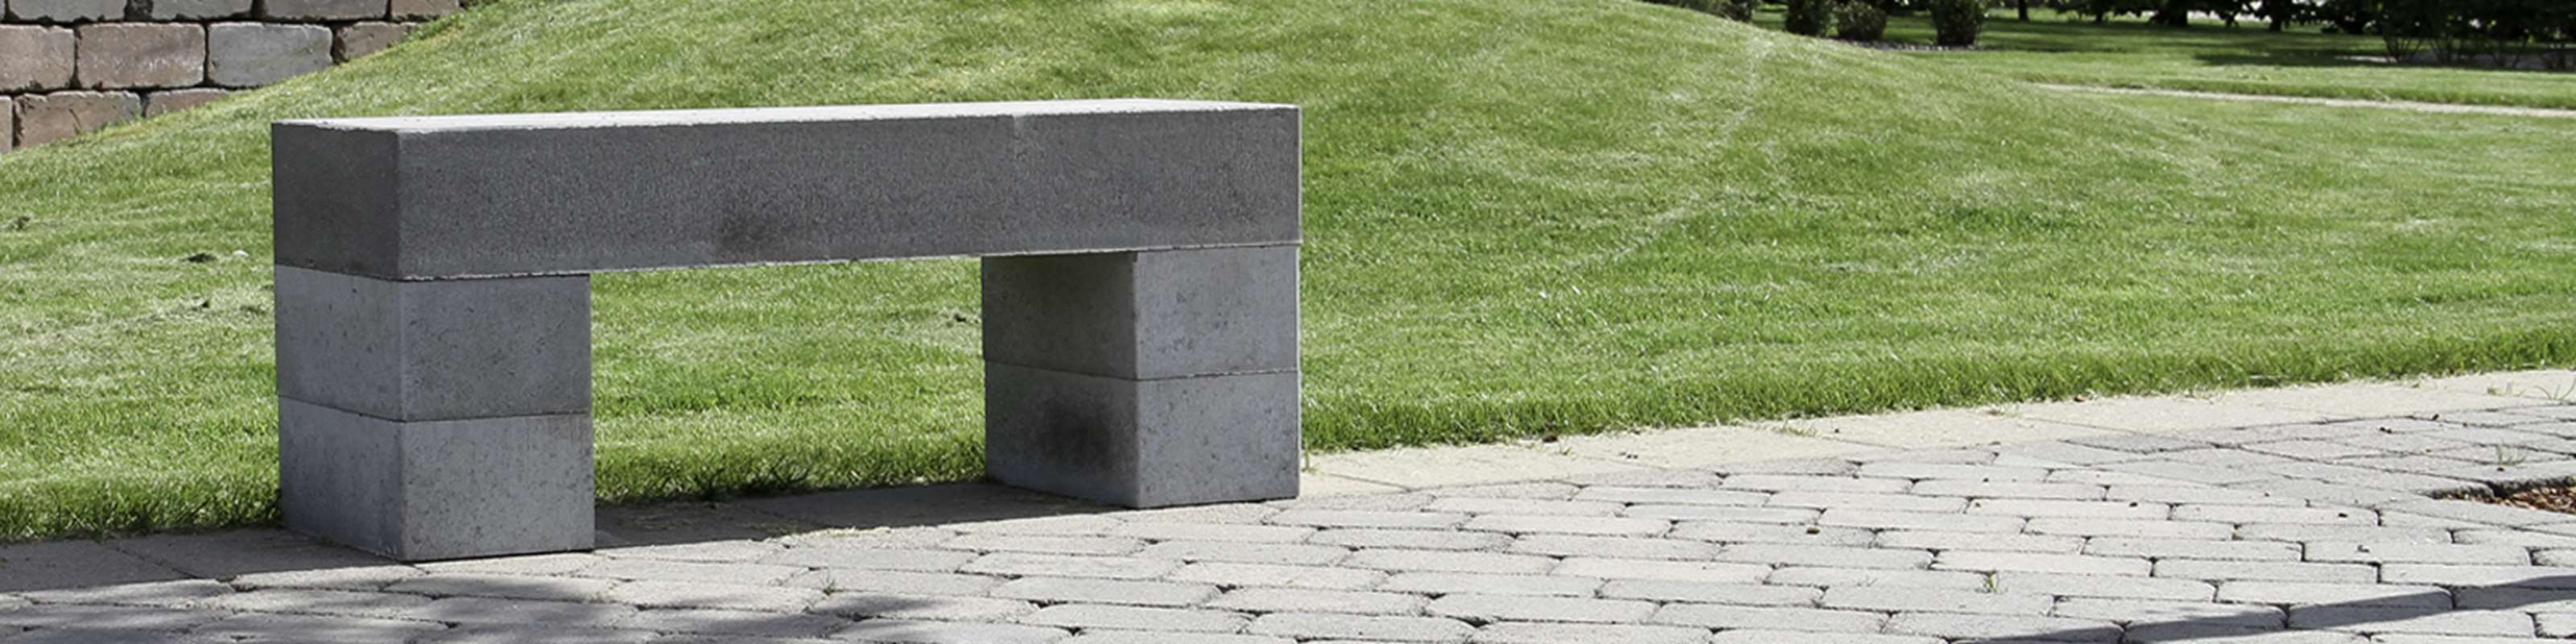
Instructions
Step 1) Measure out the surface (1,050 mm x 350 mm) where the bench is to stand. Where the legs (Labyrint Maxi sharp) are to stand, excavate each end of your measured surface. These holes must be 100 mm deep and measure 210 x 350 mm. From outer edge to outer edge of the stones (legs/end faces), the distance must be 1,050 mm.
Step 2) Lay a 30 mm thick layer of bedding sand (joint filler will do). Use a spade to smooth and flatten the surface.
Step 3) Lay the first course of Labyrint Maxi sharp by placing one stone at one outer edge and another at the other. For the bench to be stable, at least 50 m of the first course must be below ground. Use a spirit level to ensure that the stone end faces (the legs of the bench) are perpendicular.
Step 4) Glue another Labyrint Maxi sharp stone on each of the two first stones. These are what form the bench’s end faces/legs.
Step 5) Finish by placing the block on the end faces. The weight of the block means that it does not have to be glued in place. Your bench is now finished.
The bench can even be clad with, for example, boards. Using a flat iron bar as a spacer between boards and block, these can be screwed to the bench.
We wish you every success!
Download do-it-yourself instructions for the bench.
Benders’ do-it-yourself articles are only examples of projects you can carry out using Benders’ products. The details must be regarded solely as guidelines that you can choose to follow at your own discretion. Benders cannot accept any liability as regards safety and the finished project.